Every business uses an email address to communicate with its audience. To send your email campaigns to your customers, there could be cases in which different sender email addresses are required to send the campaign.
We recommend you use a business email address while communicating as it leads to authenticity and prevents your campaign from landing in a spam folder. Therefore, in this post, we will discuss how to add and verify your Sender's email addresses in NotifyVisitors.
What is the Sender's Address?
The sender address is a business email address and reflects the “From” part of an email creation so that the recipient can identify the sender of the email.
Now, whenever you send a campaign, the sender's address will reflect on the receiver's inbox, as shown below.

How to add the Sender's Email Address in NotifyVisitors for the email channel?
To get started with the verification process, navigate to Settings> Channels> Email.

Now, scroll down to Sender Email Address.
Here you will get an option to Add Sender Email, as shown below.

Now, you need to add the Sender email and click on save to proceed further, you will receive a verification email in your inbox.

Note: Your email address status will be unverified, till you confirm the email address.

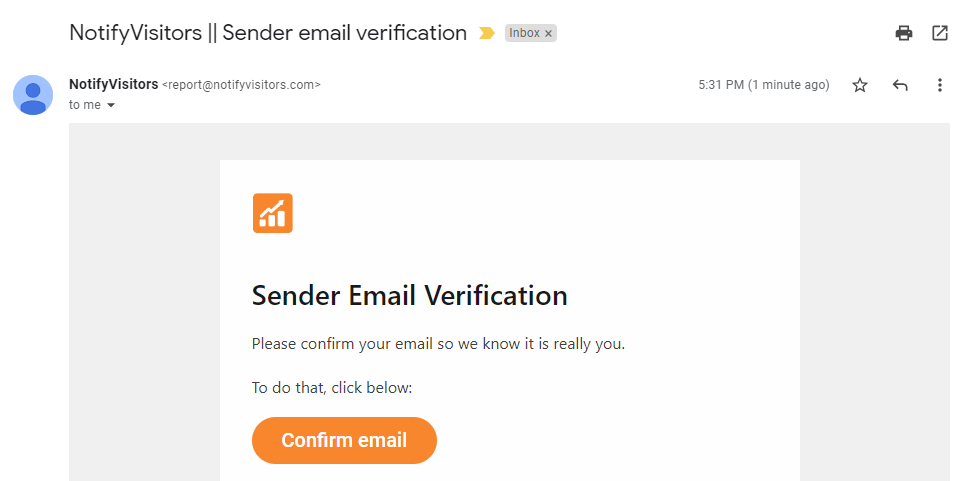
Now, you will get a confirmation email.

Click on the Confirm Email button to complete the verification process.

Since you have verified your email address the status will be switched from unverified to verified.
Why Verification Is Important?
Email verification is the process of checking an email address for being existent and active, aka valid. Have a look at the screenshot below.

This is how you can validate that your email address has been verified and you are all set to use it for campaigns.
Was this article helpful?
That’s Great!
Thank you for your feedback
Sorry! We couldn't be helpful
Thank you for your feedback
Feedback sent
We appreciate your effort and will try to fix the article