SMS is the fastest way to engage your audience. SMS campaigns help you enhance and support other popular mediums among consumers, such as social media and email. For existing customers, campaigns lead to communication and awareness.
By implementing an SMS broadcast campaign you can send an announcement or a message that organizations usually send to a large group of individuals at once. The advantages of bulk text messaging include the low cost of the service and the high reachability of the right audience.
How To Create An SMS Broadcast Campaign In NotifyVisitors
To create an SMS broadcast, navigate to the NotifyVisitors Dashboard > Campaigns.
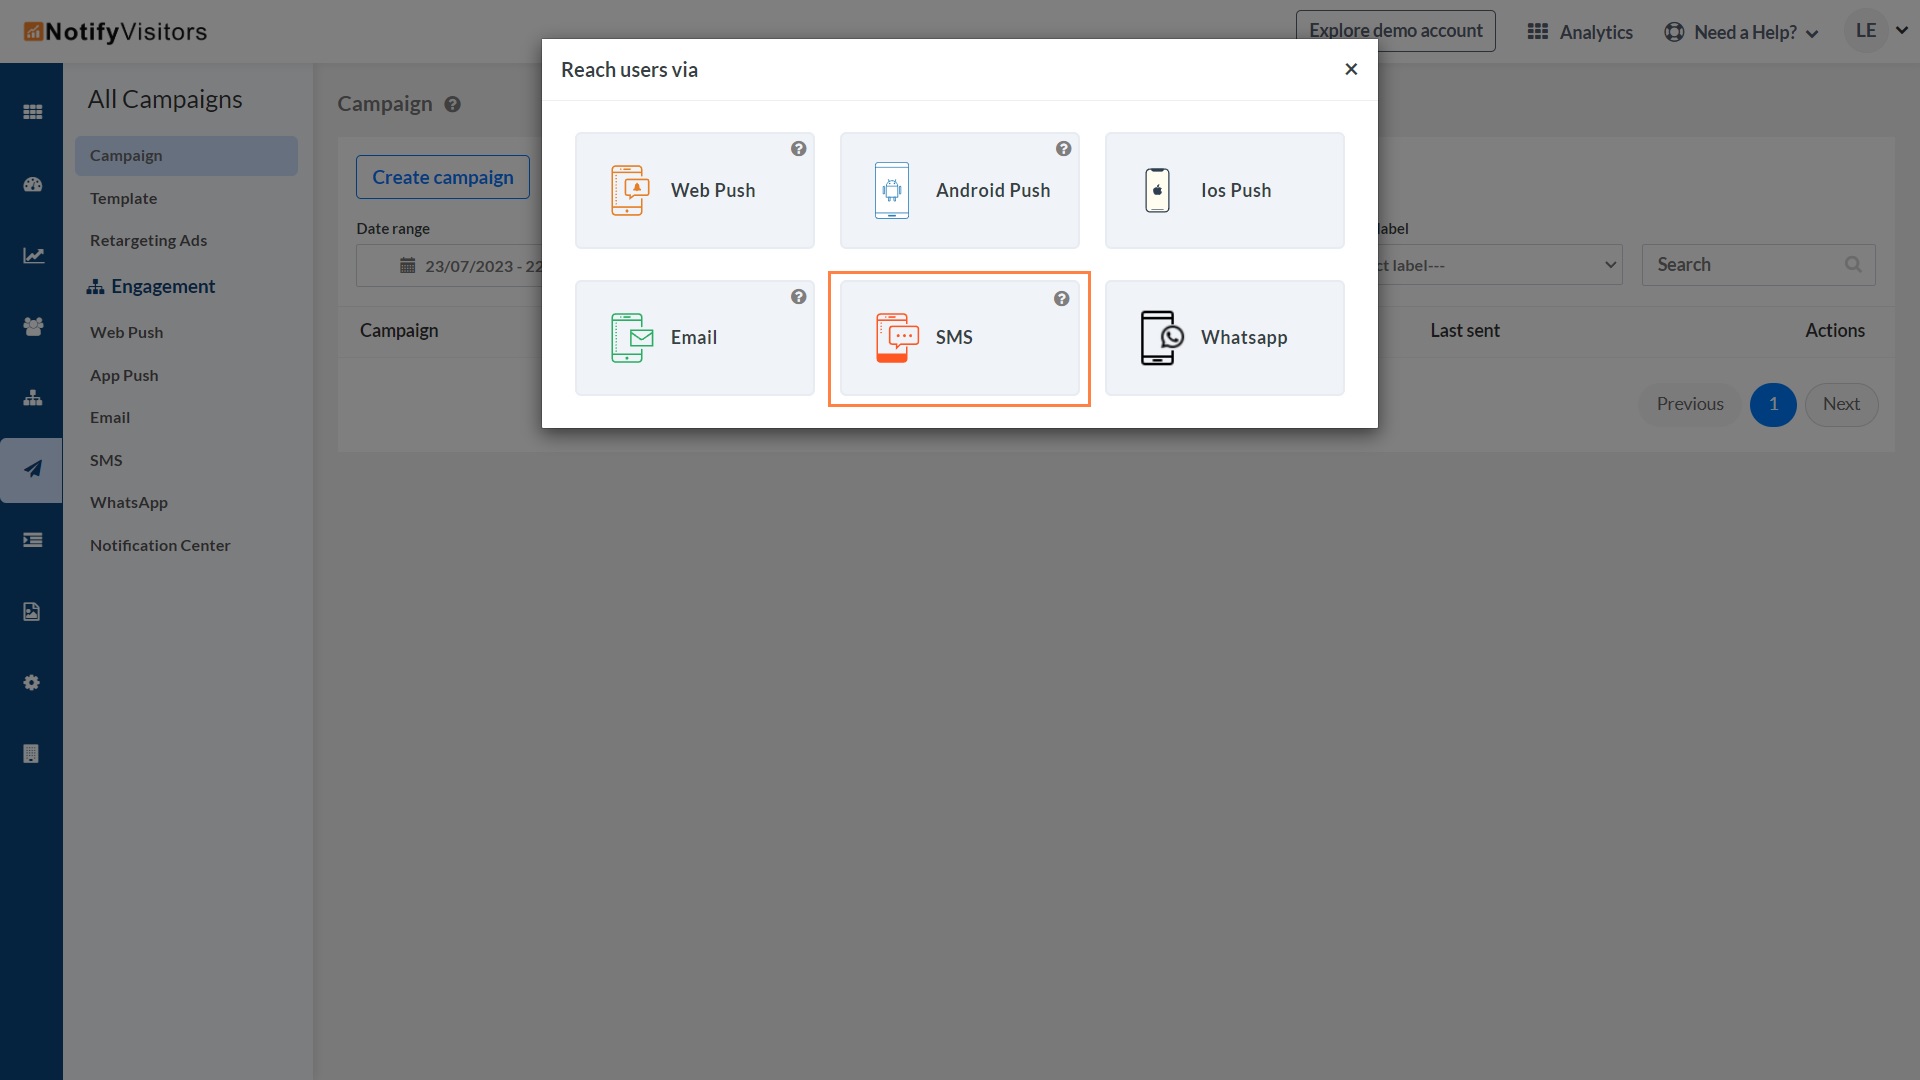
Now, select the SMS given in the 'Reach Users Via' section.
There are four stages for creating an SMS campaign viz.
1. Recipients
2. Content
3. Review
4. Send/Schedule

In the Recipients stage, there are three sections that you need to fill to proceed further: -
A. Campaign Information
Campaign Name: Give a name to your campaign.
Campaign Label: Add a campaign label as it allows you to group campaigns by topic, audience, purpose, and more.

B. Recipients
Audience: Here you need to determine whether you want to send the campaign to all the users or send it to users in multiple segments / don’t send it to users in specific segments.
Subscription Groups: Here you can select a subscription group to send your campaign to only those users who have subscribed for it.
C. Tracking: Choose the option to track the click rates

• Deduplicate Users: Enabling Deduplicate users will ensure that a particular phone number doesn't receive any SMS campaign multiple times, even if you have various users with the same phone contact.
• Frequency Capping: Enabling frequency capping allows you to control the number of campaigns a user receives within a Day, Week, or Month and keep a consistent interval between consecutive messages (sent through multiple channels or the same channel).
• Do Not Disturb: By enabling DND Settings of your campaign, you can prevent users from receiving campaigns during odd hours, such as when they may be asleep.
• Conversion Tracking: Conversion tracking shows when a recipient clicks on a link and then takes another action (such as placing an order) within the conversion period. Choose conversion tracking if you want to track down the conversions for any particular campaign.
• UTM Parameters: UTM helps track the progress of the campaign on all online platforms like Google analytics. Choose UTM if you want to track user engagement for any particular campaign.
Now, click on Continue To Content.
In the Content stage, you need to add content information.
• Sender Mobile: When you send bulk marketing SMS, your Sms “From” number tells your recipients who sent them the message.
• DLT ID: You need to add the DLT id that you have received while registering for the Distributed Ledger Technology (DLT) portal.
Note: DLT ID is required for Indian service providers only.
• Message: Here you need to add the message that you want to send to your audience. Sending personalization messages using their location, language or medium will catch more attention of the users. Personalization here means attaching tokens manually (as we did in the screenshot below) to offer an enhanced customer experience. For instance, here we have added a token that will make your message personalized as per customer name which means you will be greeting them by their first name.

• Service provider: Add an SMS service provider and click on the Next button.
• A/B Testing: You can do A/B testing to find the best template to work with.

Now, click on Continue To Review.
In the Review stage, you can review all the information that you have added in the initial two stages.

Now, click on Send / Schedule to proceed further.
You get two options to send a campaign - One time and Recurring.
If you want to send your campaign just once, choose the first option, which is One Time, where you can send SMS just once on the specified date and time.

But if you want to send recurring SMS, then click on the Recurring (send repetitive SMS on a specified date and name)

The following configurations are exclusively for the Recurring Campaign Type.
Scroll down to the Schedule section and fill in all the required fields.

Status: Select Active/Inactive to determine whether the recurring should be running or not
Timezone: Select the timezone of the area in which the recurring campaign will trigger.
Schedule: Choose the time and date to schedule the campaign weekly, monthly, or daily. The time to trigger is as per the selected timezone.
A. Monthly: If you choose to send the campaigns every month. The campaigns will be sent on the date and time you specified monthly. Also, the campaign will stop running automatically on the specified end date.
B. Weekly: If you select the WEEKLY option, your campaigns will be sent on the day and time you specified every week till the end date you specified for the campaign.
Note: You can add other days and schedule campaigns for the days you add.
C. Daily: If you choose the DAILY option, the campaign will be sent at the time specified by you daily until the last date you specified for the recurring campaign.
This is how you can create an SMS campaign for your audience.
Was this article helpful?
That’s Great!
Thank you for your feedback
Sorry! We couldn't be helpful
Thank you for your feedback
Feedback sent
We appreciate your effort and will try to fix the article